
Pay Page
Setup Guide
Setup Guide
Installation
Files & Directories in Download Package
In the downloaded Zip file, you will find below files & folders:
- Source – a folder containing all the required files you need to paste in your application.
- config.php - a file containing all payment gateways configuration, you need to update payment gateways API and secret key.
- Setup-Guide.pdf – an Instruction manual for setup (This Document).
- Quick-Start-Guide.pdf - Basic introduction.
Technical-Guide.pdf – Technical information may help for further customizations.
Configurations
config.php file contains all the configuration/settings for the payment gateways eg. like enable payment gateway, payment API key, Secret key, Merchant key etc. you need to update these key as per your requirement.
You will find this file in source/example folder.
First, you need to set base URL as per showing below.

Payment gateways can be on or off using enable property using gateway configurations.
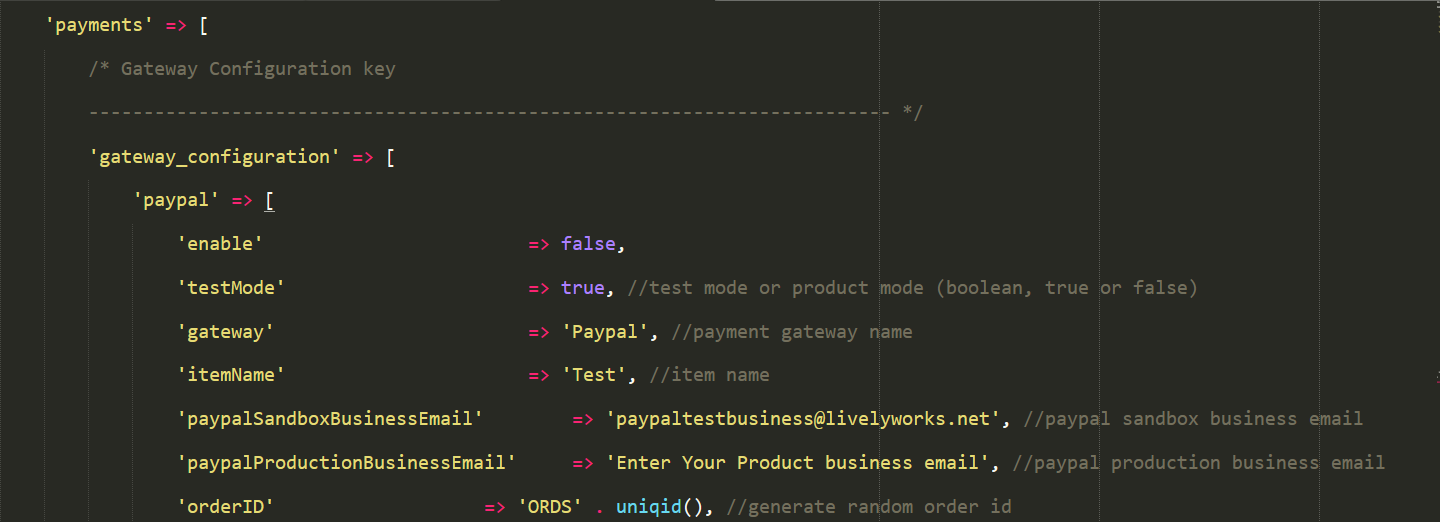
Other files in example uses
- index.php - All enabled payment gateways are shown under this file. This file is containing PHP, jQuery (JavaScript) code, you will easily modify this file as per your need.
Important: Please note one should provide user details as given in $userDetails array.
- payment-process.php - All these payments process through this file. It sanitize and validate user input data and if valid data are found then send this data to payment gateway service class for the processing/authorizing which further may communicate with payment gateways API.
- payment-response.php - You will get all payment responses here in $requestData variable.
Using 'paymentOption' key you can identify that which payment gateway belongs to current response data.

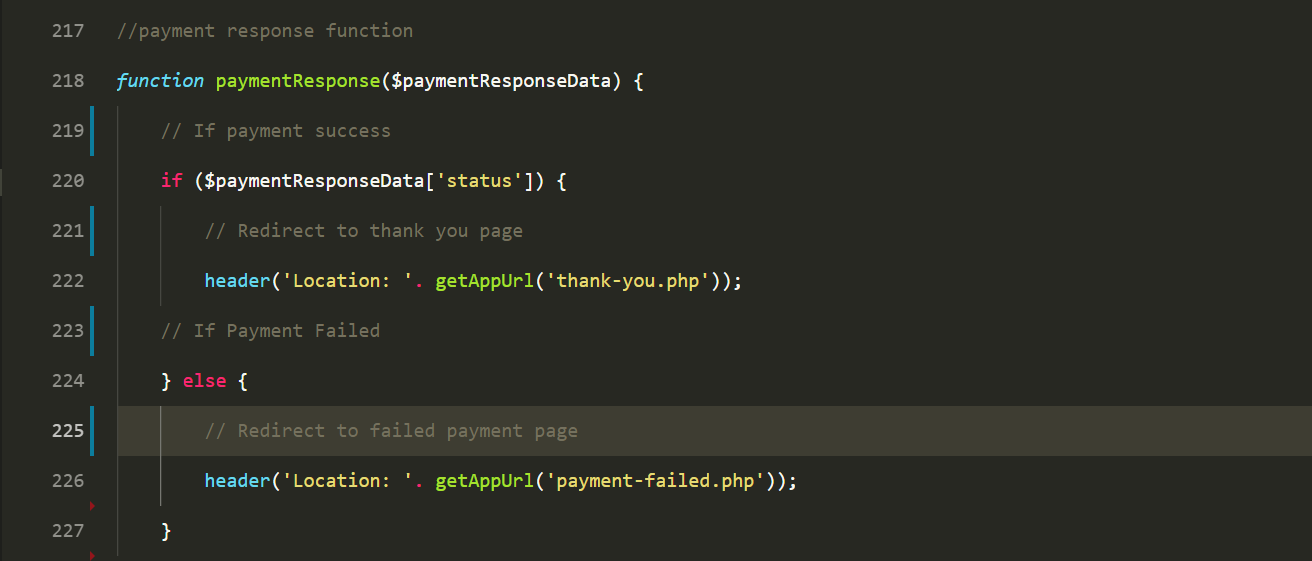
In this file, you will find paymentResponse() function. Under this function you will get payment success / failed status in $paymentResponseData variable. You can send an email, insert to database or redirect to any page from here.
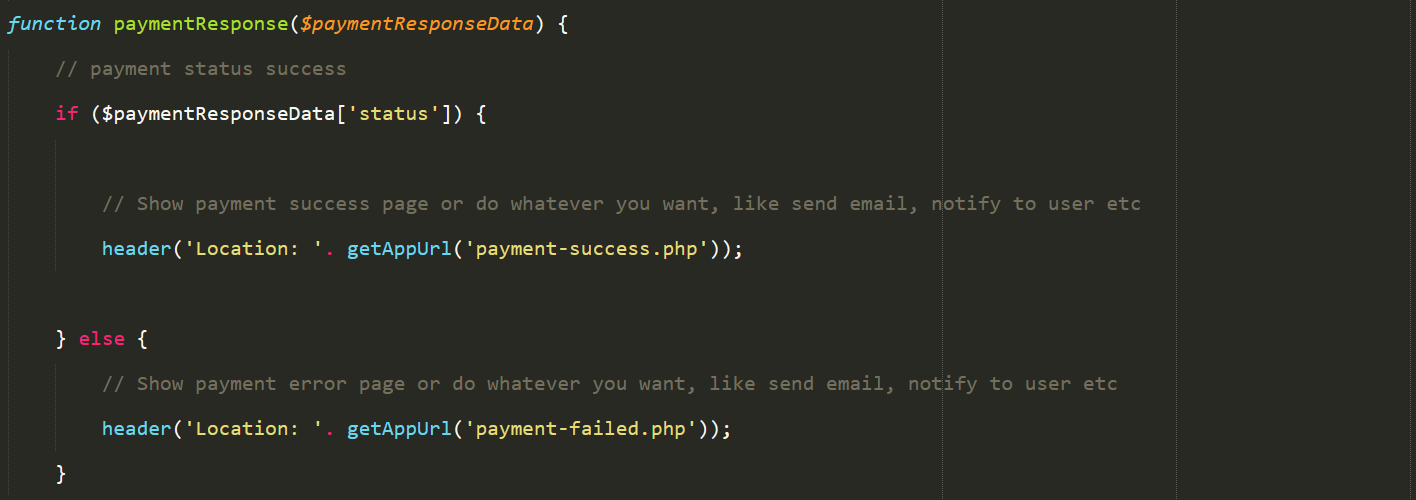
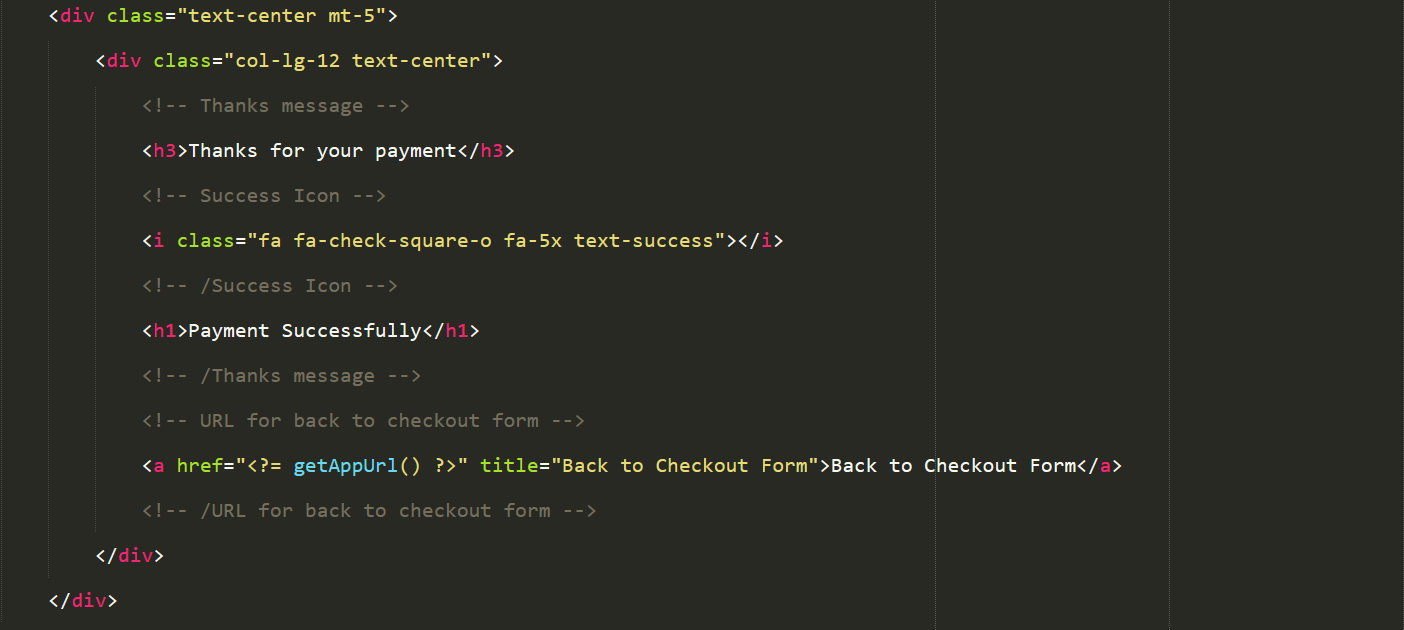
- payment-success.php - After successful payment, you will redirect here. You can show messages to the user or do anything after successful payment.
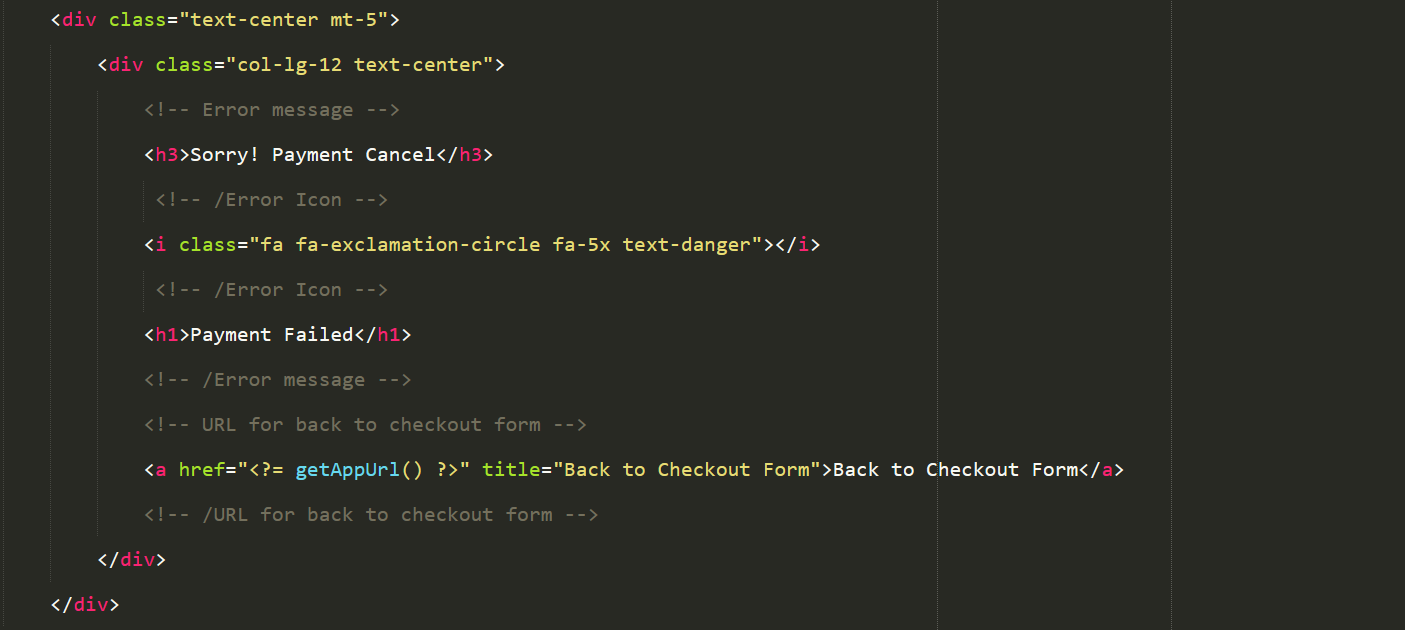
- payment-failed.php - If payment is not completed or it get failed, then you will be redirected here. You can show error messages or do anything after an unsuccessful payment is made.
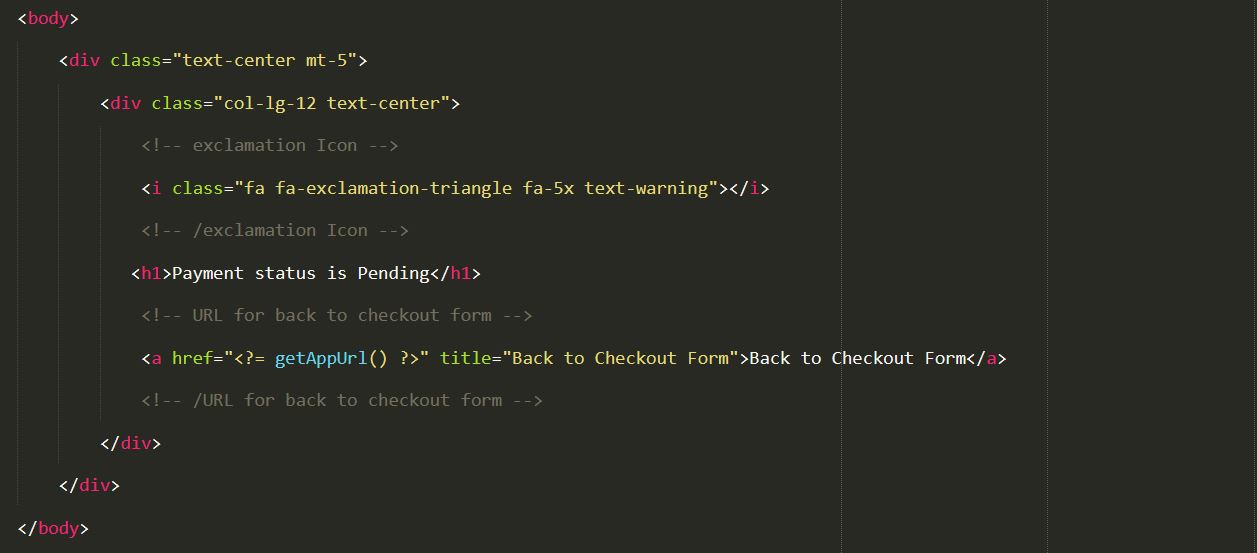
6. payment-pending.php - If payment status is not completed / cancelled or pending then, then user will redirect here. You can show message or do anything after payment is in pending status.
Payment Gateways Configurations
PayPal
- Sign up for a PayPal account please visit the following link.
https://www.paypal.com (for production)
https://developer.paypal.com/developer (for sandbox)
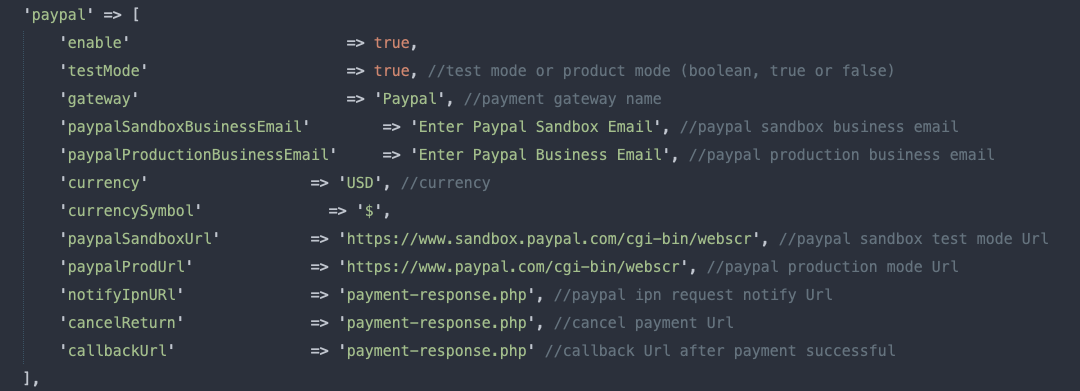
- After creating your account update your config.php as per shown below.
Paytm
- Create an account of Paytm, using this link as shown in below URL,
https://business.paytm.com/payment-gateway and get your Merchant ID and Account Secret Key.
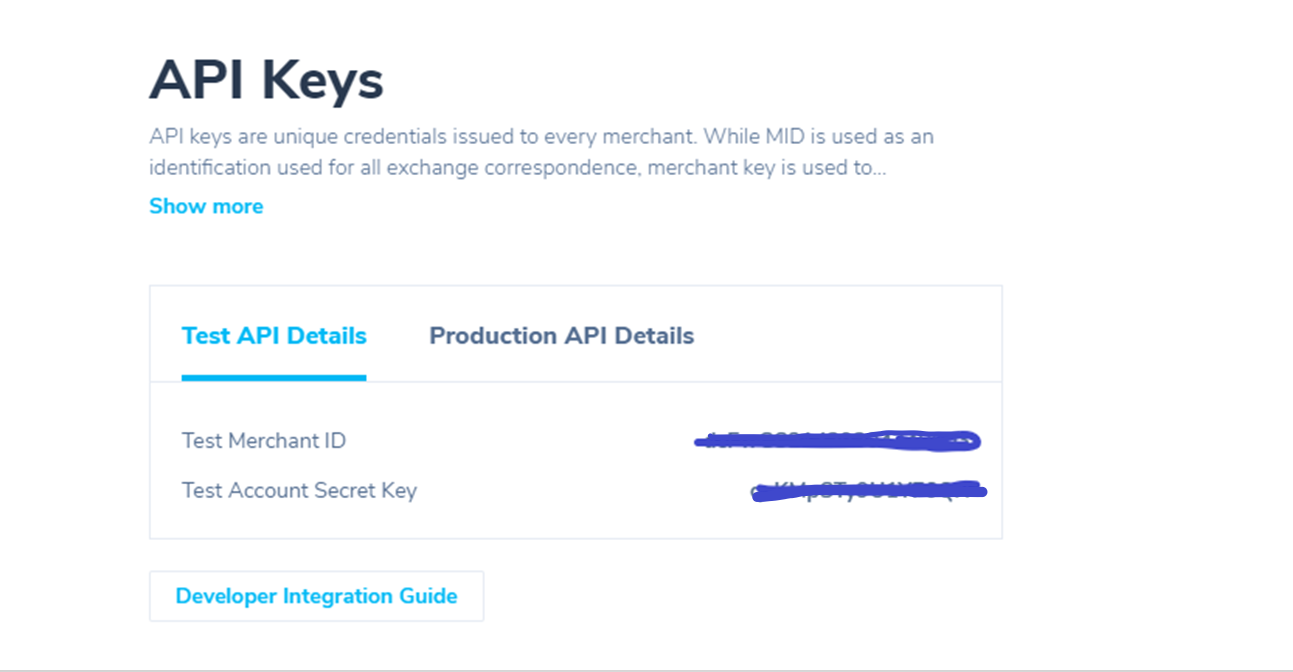
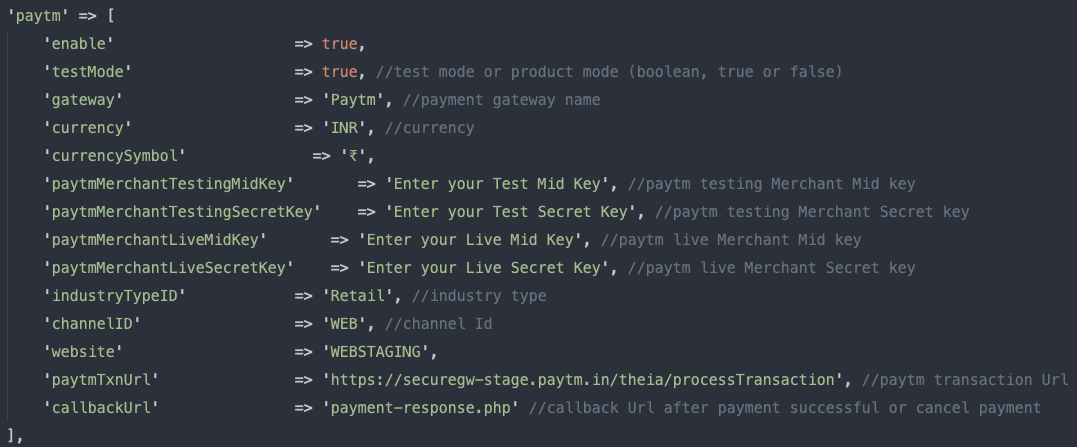
- After getting your Merchant ID and Account Secret Key you need to paste into config.php file and set enable option true as per shown below.
Instamojo
- Create an account in Instamojo, using this link as shown in below URL,
Note: If You are using sandbox environment the create account in this URL http://test.instamojo.com Or If you are using production mode environment then you need to create an account on http://www.instamojo.com, and grab your API key and auth token.

- After getting your API key and Auth Token you need to paste into config.php file and set enable option true as per shown below.
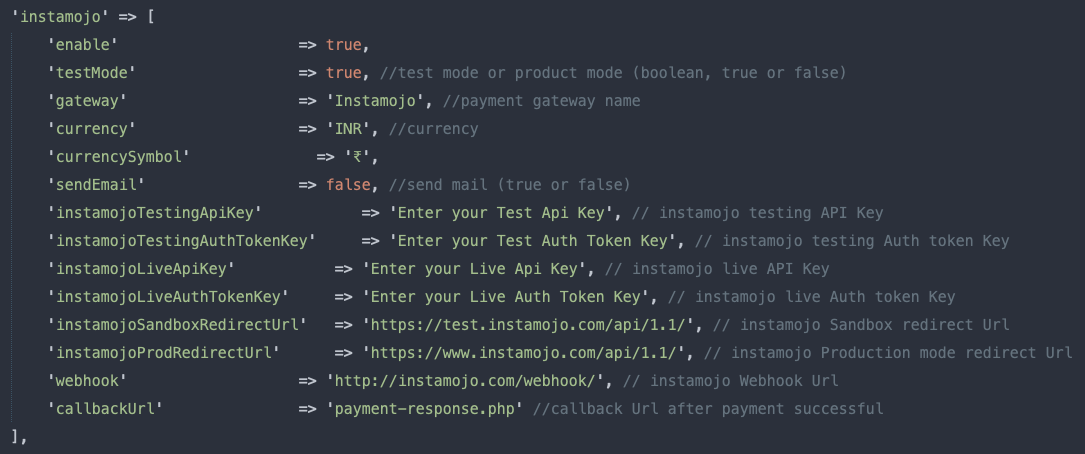
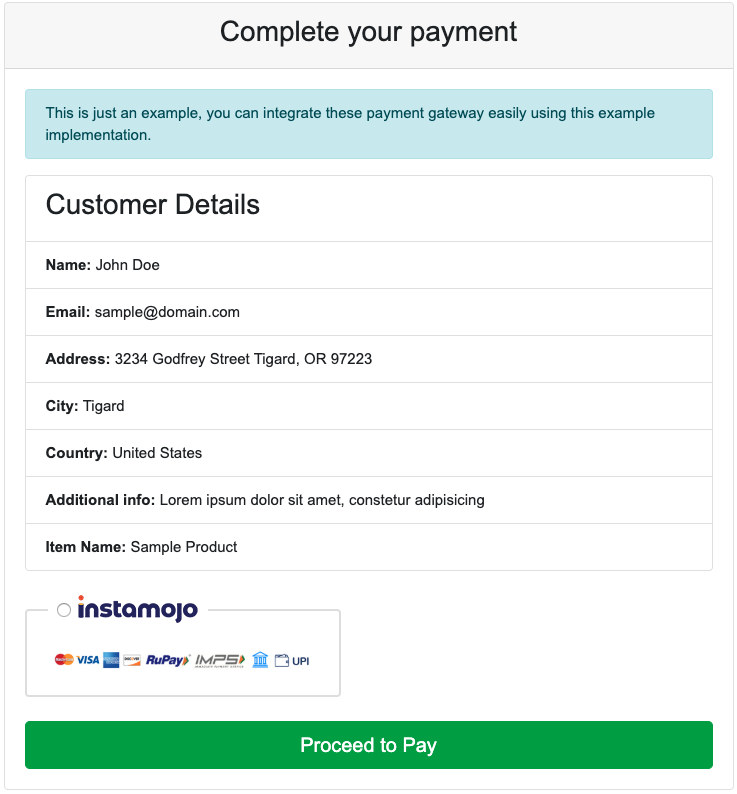
- Now access the index.php page inside the example folder to view all the payment method similarly you can access example\instamojo-payment.php to view only instamojo payment gateway.
Paystack
Now we setup Paystack account for make a payment.
- Visit following link. Paystack Signup and sign up. Grab your Public and Secret key.
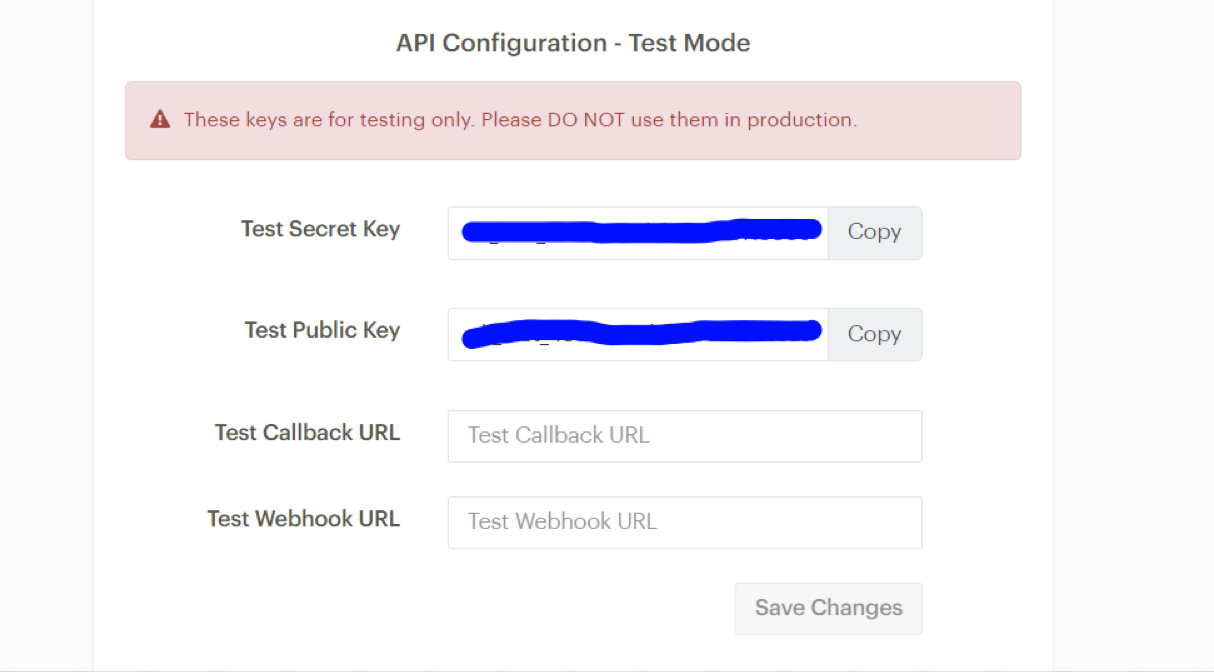
- After getting your Public and Secret key you need to paste into config.php file and set enable option true as per shown below.
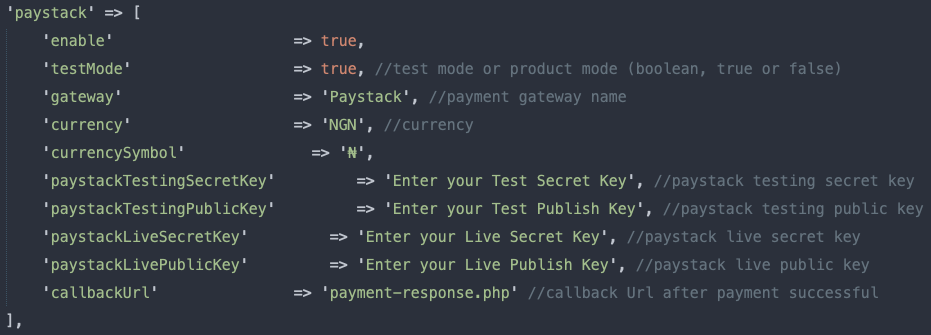
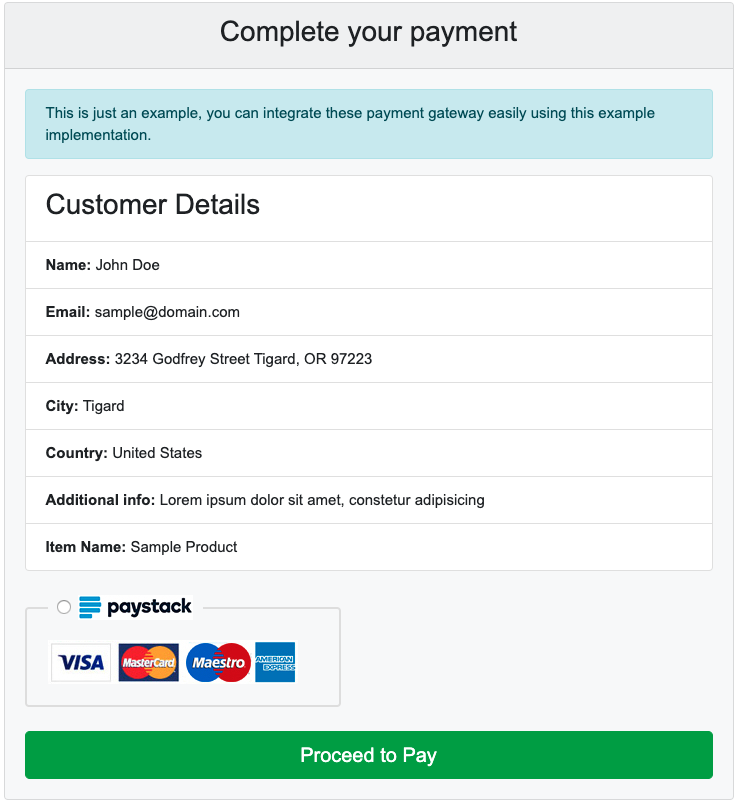
- Now access the index.php page inside the example folder to view all the payment method similarly you can access example\paystack-payment.php to view only paystack payment gateway.
Stripe
The steps given below will take you through the setup process for Stripe.
- To payment through stripe you have to visit following site. Stripe and get secret and publish key.

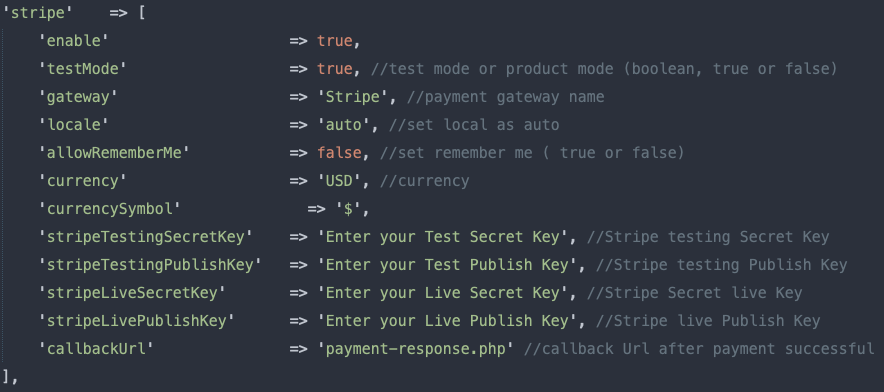
- After getting your Public and Secret key you need to paste into config.php file and set enable option true as per shown below.
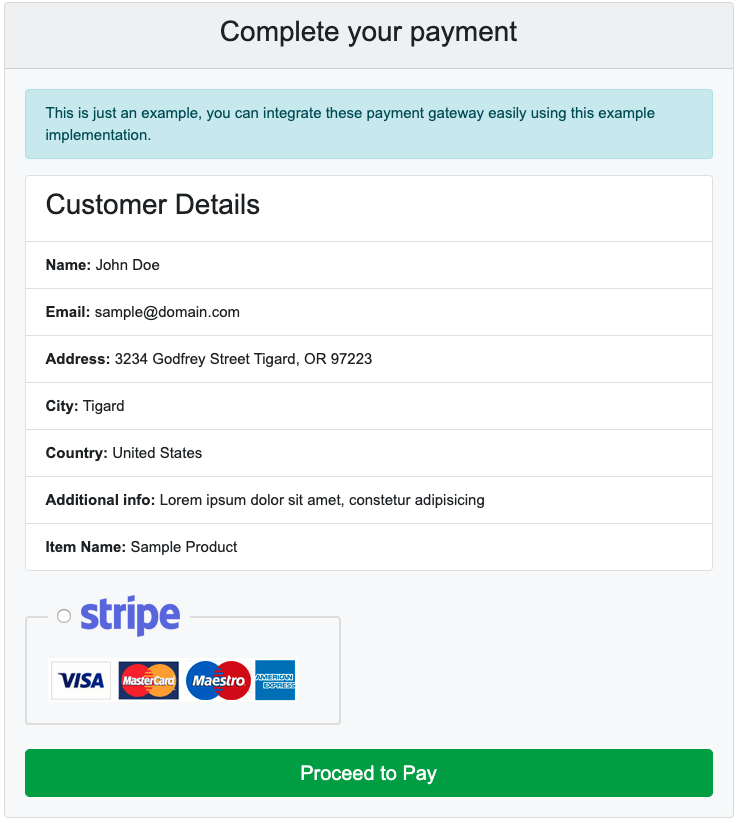
- Now access the index.php page inside the example folder to view all the payment method similarly you can access example\stripe-payment.php to view only stripe payment gateway.
Razorpay
The steps given below will take you through the setup process for Razorpay.
- First, you need to visit the following link. Razorpay Signup and create your account, and grab your API and Secret key.
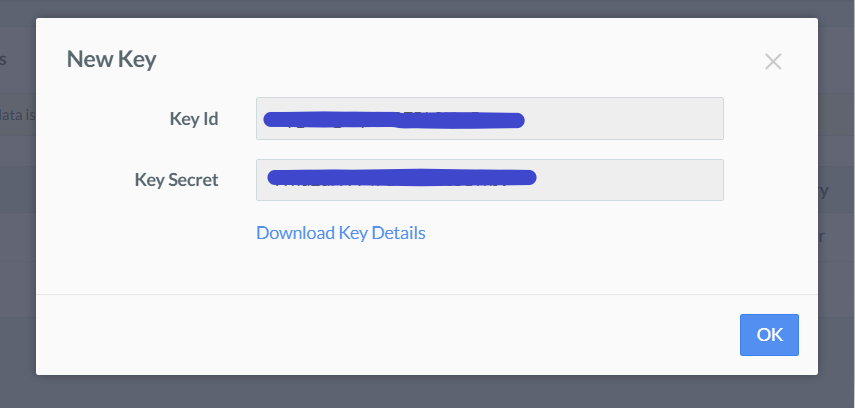
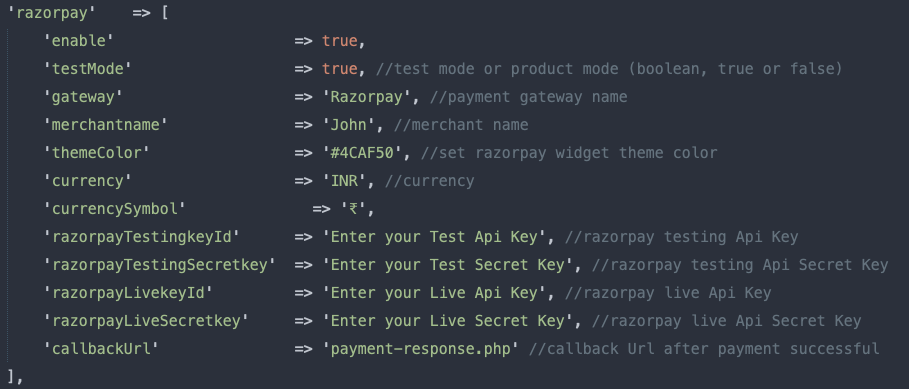
- After getting your API and Secret key you need to paste into config.php file and set enable option true as per shown below.
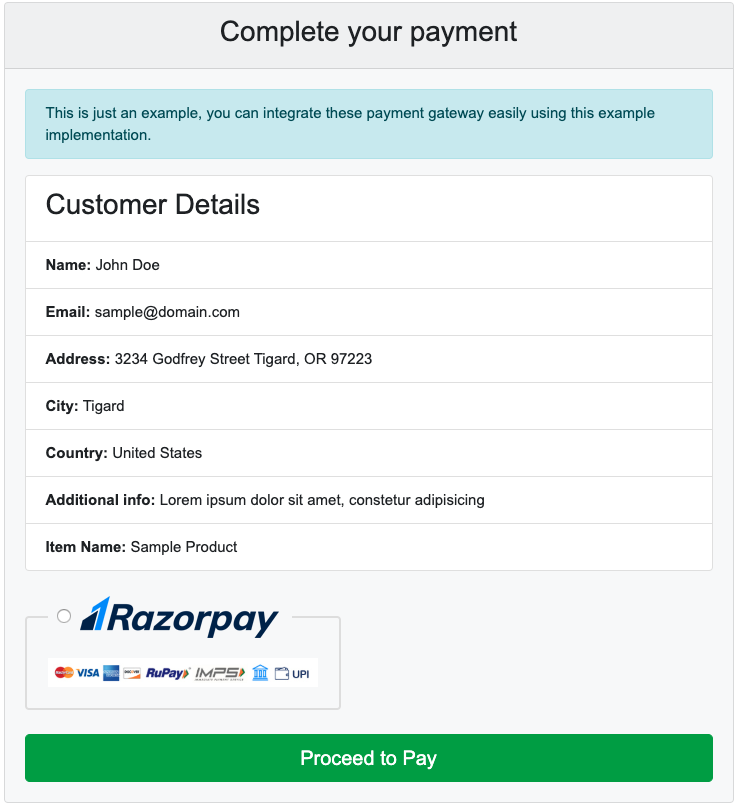
- Now access the index.php page inside the example folder to view all the payment method similarly you can access example\razorpay-payment.php to view only razorpay payment gateway.
- Finally, after successful or unsuccessful payment you can grab a payment response in payment-response.php in paymentResponse() function, and you will get both (success/error) data in $paymentResponseData variable as an array.
Here you can send an email, redirect to any page or do whatever you want after payment completion.
Iyzico
- Create an account of Iyzipay, using this link as shown in below URL,
https://sandbox-merchant.iyzipay.com/auth/login and get your API and Secret Key.
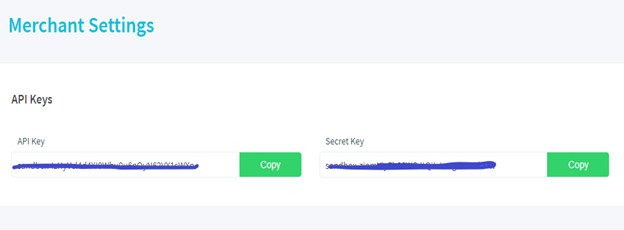
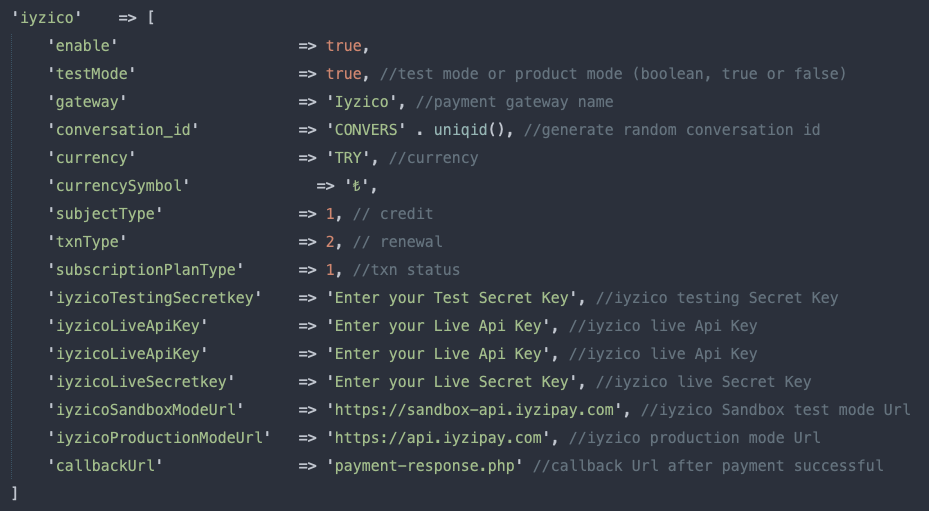
- After getting your Merchant ID and Account Secret Key you need to paste into config.php file and set enable option true as per shown below.
Authorize.Net
- Create an account as per link given below
Note : If you want to use the sandbox account then visit https://developer.authorize.net/hello_world/sandbox/ or if you want to use the production mode then use https://www.authorize.net/sign-up/ and get your API login id and transaction key.
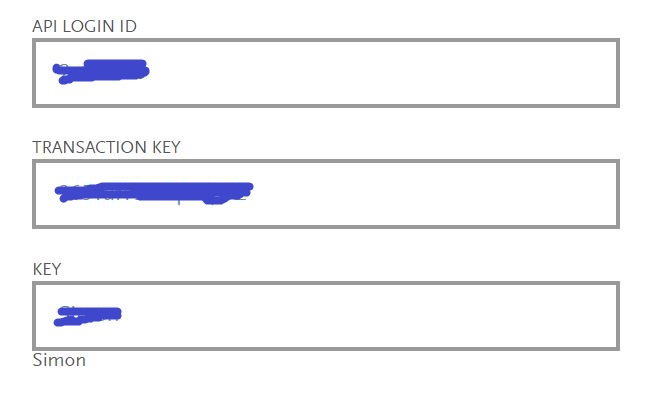
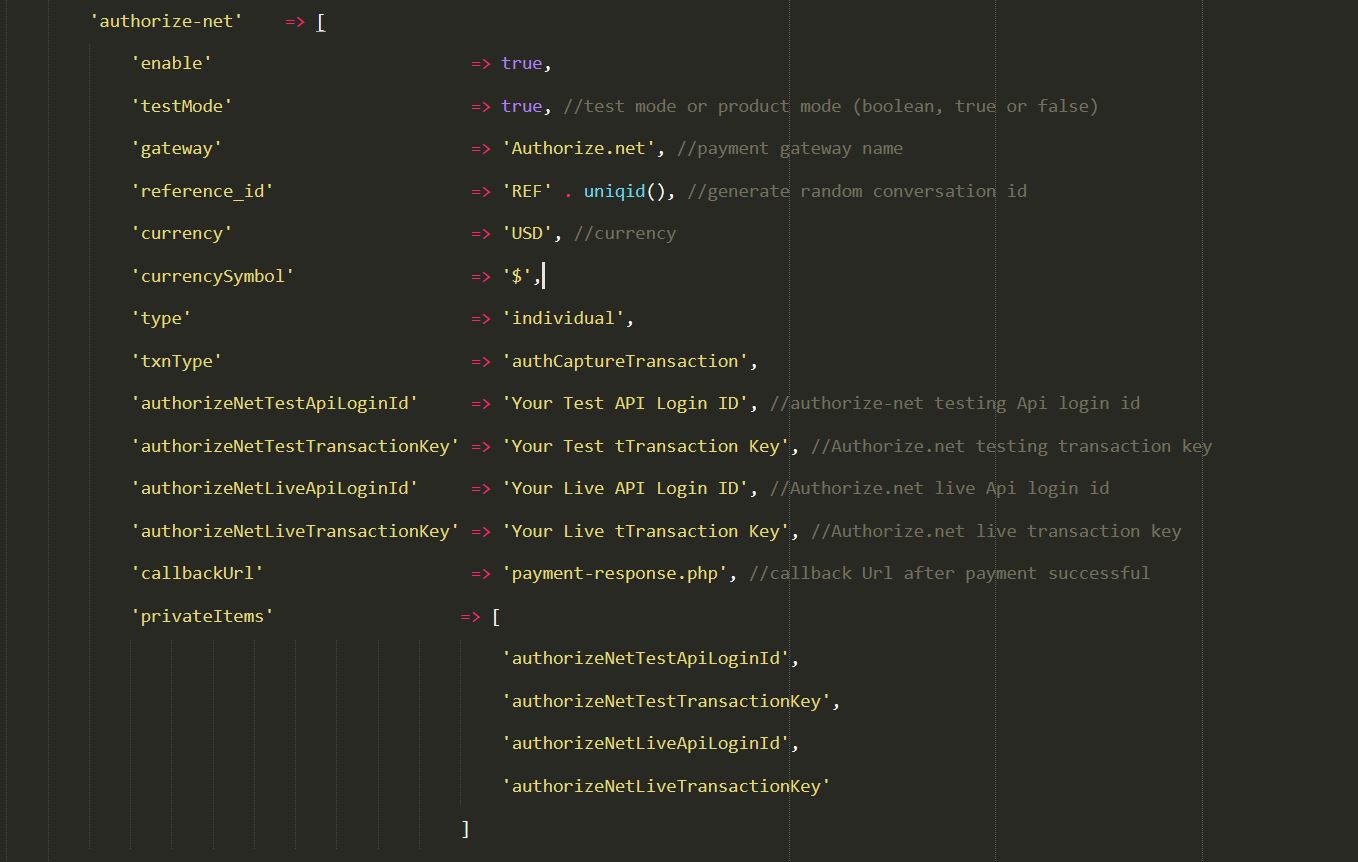
- After getting your API login id and transaction key you need to set into config.php file
- Now access the index.php page inside the example folder to view all the payment method similarly you can access example\authorize-net-payment.php to view Authorize.Net payment gateway.
Bitpay
- Create an account as per link given below
Note : If you are wishing to use sandbox account then visit https://test.bitpay.com/signup/ or if you want to use the production mode then use https://bitpay.com/signup/ and get your pair code and label.
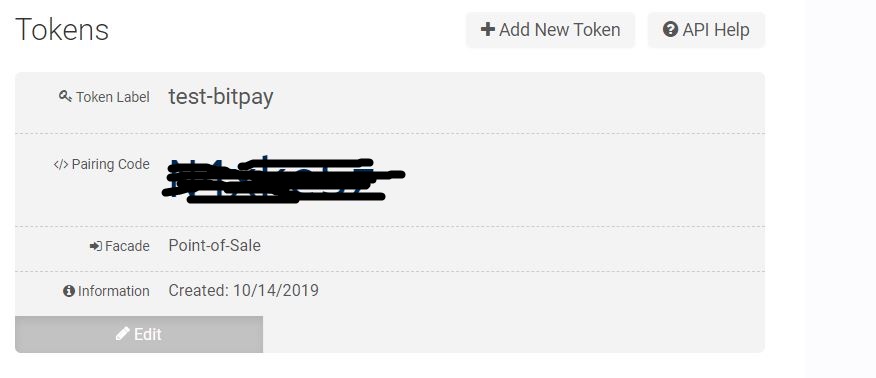
- After getting your pair code and label you need to paste it into Config.php as per given below
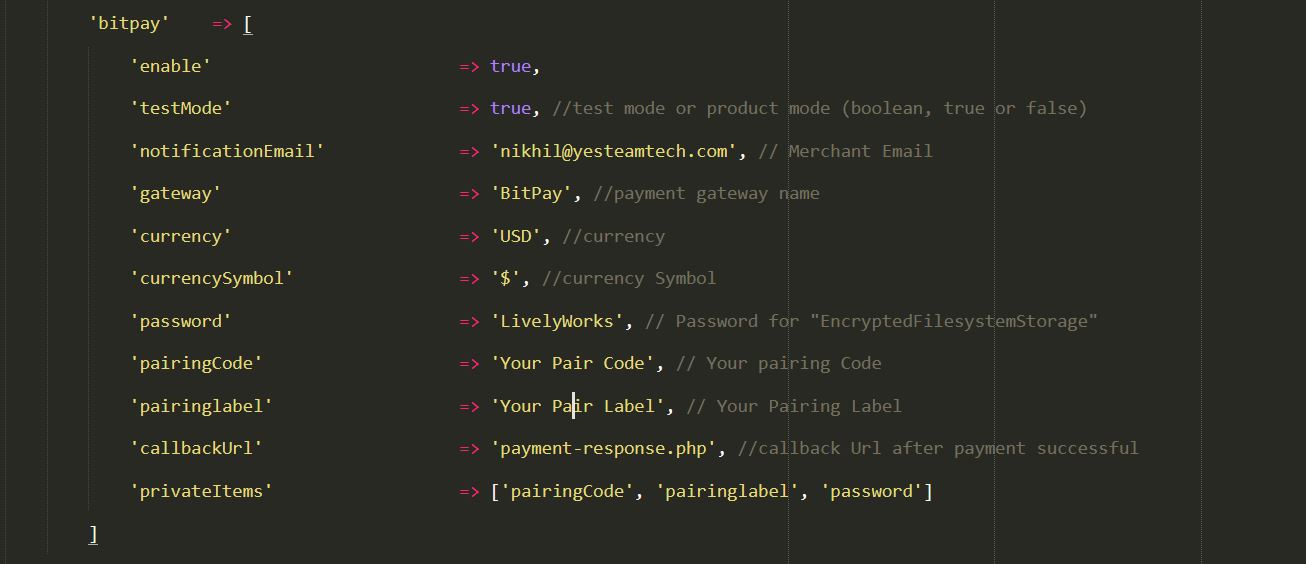
- Now access the index.php page inside the example folder to view all the payment method. Similarly you can access example\bitpay-payment.php to view BitPay payment gateway.
Mercado Pago
- Create your Mercado Pago account on link given below.
https://www.mercadopago.com.ar/registration-mp
- Grab your access token from credential section as per below.
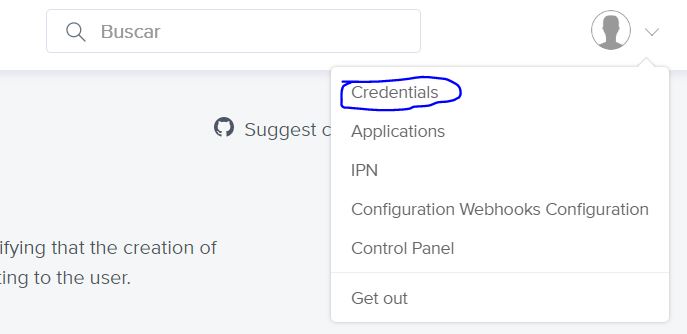
- If you are using sandbox account then copy the access token from sandbox mode or you are using the production mode then copy access token from production mode.
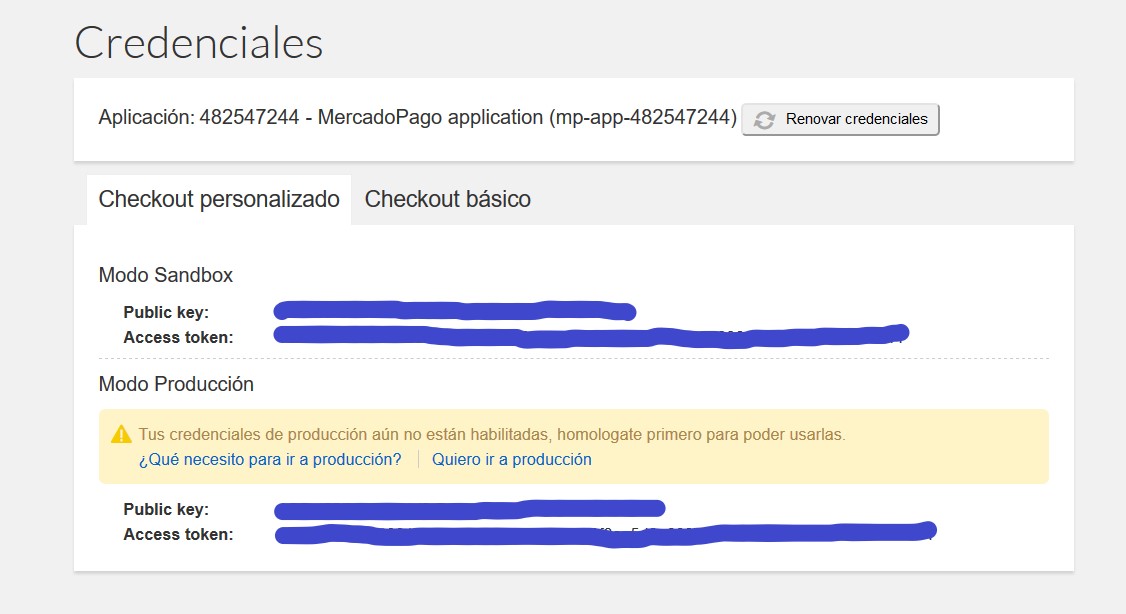
- After getting your access token paste it into config.php as per given below.
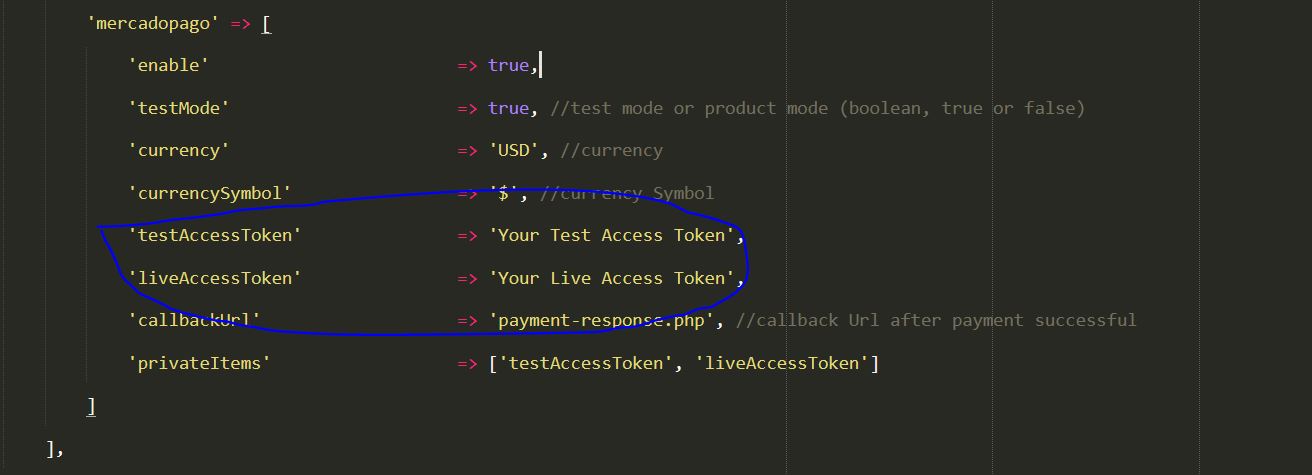
- Now access the index.php page inside the example folder to view all the payment method. Similarly you can access example\ mercadopago-payment.php to view Mercado Pago payment gateway.